
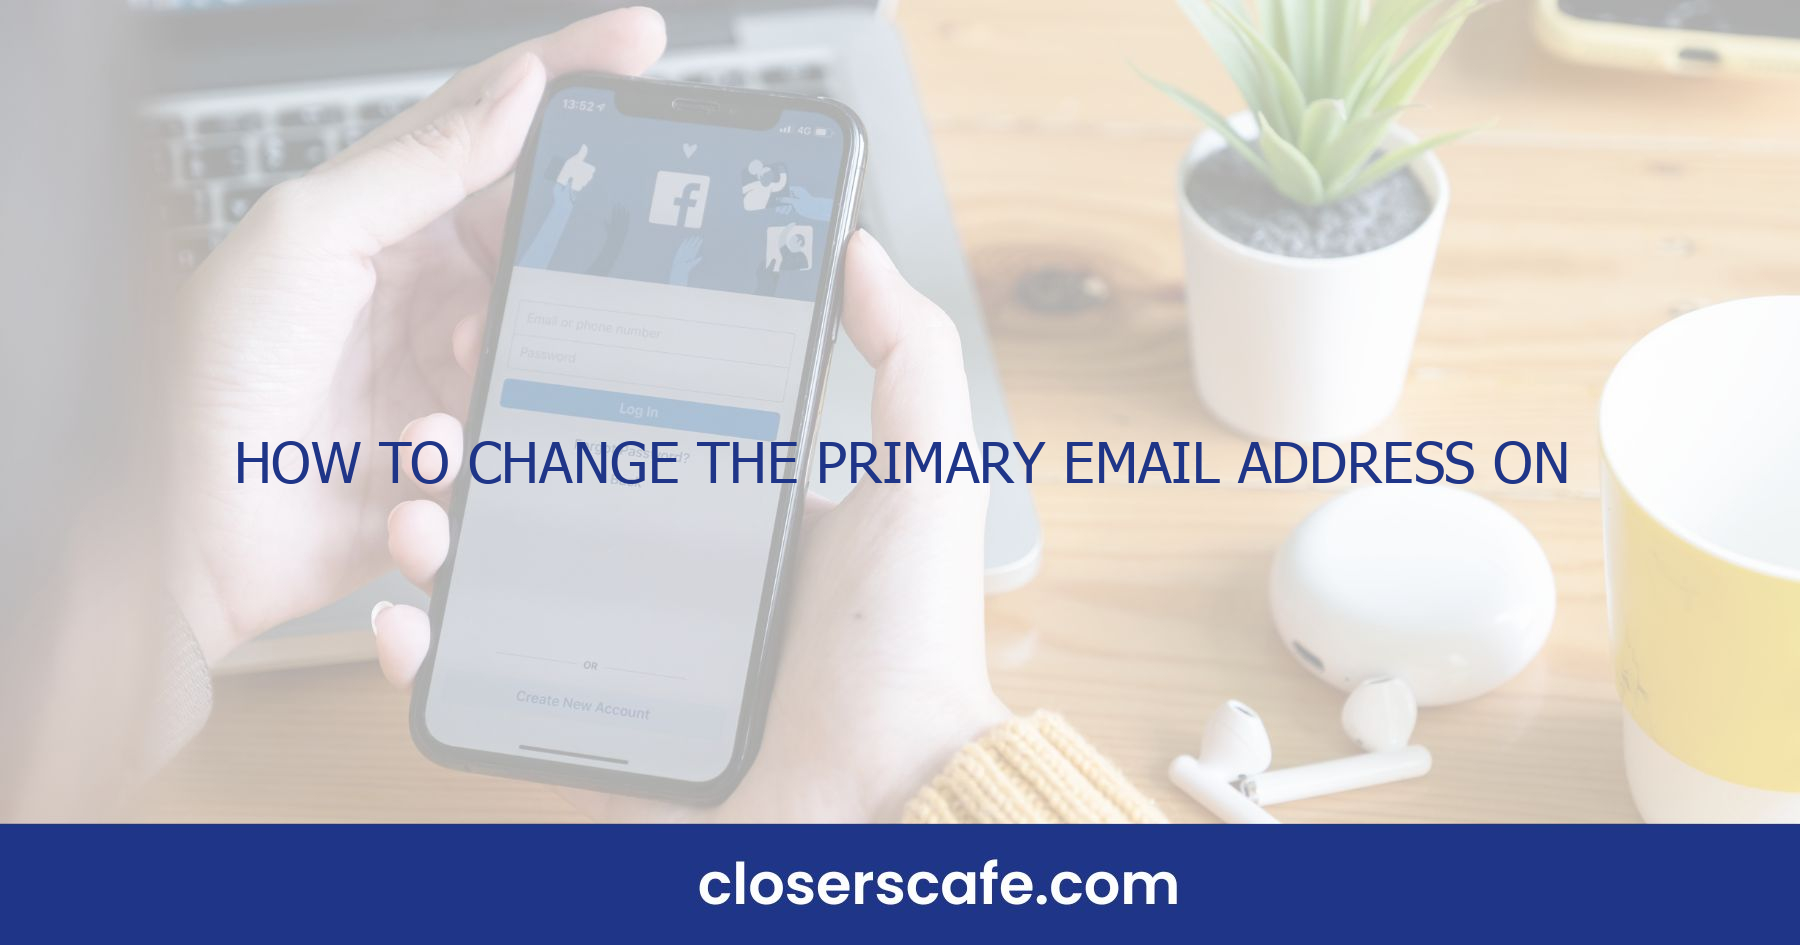
Ever found yourself needing to update your primary email on Facebook? Whether it’s due to a change in your email provider or simply wanting to streamline your social media notifications, keeping your contact info up-to-date is crucial for maintaining access to your account. I’ve navigated the ins and outs of Facebook settings to bring you a straightforward guide.
Changing your primary email address on Facebook may seem daunting, but it’s actually a breeze once you know where to look. I’ll walk you through the process step-by-step, ensuring you can make the switch without a hitch. Let’s jump into how you can keep your Facebook account linked to the right email address, ensuring you never miss an important update or notification.
Understanding the Importance of Updating Your Primary Email Address on Facebook
When it comes to managing my Facebook account, I place a high importance on the primary email address associated with it. This email isn’t just for recovering passwords—it’s the main line of communication between Facebook and me. If this key contact detail isn’t up to date, I could miss out on critical notifications, including privacy changes, new logins, or even friend requests.
Also, if my primary email is compromised or I lose access to it without having an updated email on Facebook, regaining control of my account could become a challenging process. It’s a safety measure as much as it is about convenience. By ensuring that my primary email is current and secure, I’m taking a proactive step in protecting my digital identity on Facebook.
Here are some of the reasons I make sure my primary email on Facebook is always updated:
- Security Alerts: Whenever there’s a potential security issue with my account, Facebook sends an alert to my primary email. This can be pivotal in preventing unauthorized access.
- Account Recovery: Losing access to my Facebook account can be frustrating. An up-to-date email is essential for a smooth recovery process.
- Notification Management: From friend requests to tags and event invites, I keep track of my social interactions through email notifications. – Communication from Facebook: Occasionally, Facebook sends out tips, policy updates, or other useful information. An active, current email ensures I don’t miss those communications.
It’s plain to see that the primary email address tied to my Facebook plays a crucial role in a number of areas. Staying informed and secure on the platform hinges on having my most used and reliable email address connected to my account. This is why I check my primary email settings regularly and update them whenever there’s any change to my email situation. Keeping this link active and current empowers me to maintain control over my Facebook experience and secures my online presence.
Step 1: Navigating to the Facebook Settings
Changing your primary email on Facebook starts with navigating to the right section in your account settings. I’ve made this shift several times and found it a fairly straightforward process. Let me guide you step by step.
First, you’ll need to log into your Facebook account. It’s a given, but make sure you remember your current login information; otherwise, you might need to recover your account first. Once logged in, head to your profile page by clicking on your name in the top right corner. I always double-check that I’m on my profile page; it should display your timeline, friends, photos, and other personal information.
Look for the triangle-shaped dropdown menu at the top right-hand side next to your profile and cover pictures. Clicking this icon opens up a world of Facebook settings and features. Choose Settings & Privacy; you’ll find this option towards the bottom of the dropdown menu. In my experience, it’s a go-to hub for managing my Facebook experience, so it’s worth exploring other settings later on.
After selecting Settings & Privacy, another submenu will appear. Click on Settings again, and you’ll be transported to the General Account Settings page. This page is key for personalizing your Facebook experience, including updating contact details like your primary email.
In the General Account Settings area, you’ll immediately notice a section labeled ‘Contact’ where your primary email is listed. If it’s been a while since you’ve updated your settings, take a moment here to review other listed emails. It’s important to maintain them as well to avoid any potential lapses in account access.
Next, we’re going to proceed to the actual process of changing the primary email which involves editing these contact details. But before diving in, ensure your new email address is ready to go — it’s essential to have access to it because you’ll need to confirm the change through a verification email from Facebook.
Step 2: Accessing the Email Settings
Once I’ve navigated to the General Account Settings page, the next action is straightforward. I’ll find the ‘Contact’ section, which holds all the email addresses associated with my Facebook account. Here, I can review the list and determine which email I want to set as my new primary one.
It’s essential to keep in mind that the email addresses here will have various labels. There will be one marked as ‘Primary’, which is the main email for login and notifications. Others might be labeled as ‘Secondary,’ which provide additional ways for Facebook to contact me or reset my password if needed.
Clicking on ‘Edit’ next to the ‘Contact’ field will open up more options for managing my email addresses. I’ll see a list of all the emails linked to my profile and have the opportunity to add another email address. It’s key to ensure that the new email I add is active and accessible, as I’ll need it to receive the verification email.
After I add a new email, Facebook will send a verification email to confirm it’s really me and that I have access to this email account. This is a vital security step that helps protect my account from unauthorized access. I’ll be prompted to click a verification link within this email, which is a standard process to confirm ownership of the new email address.
Once verification is complete, I’m ready to change my primary email. Beside each email in the list, there’s a radio button. I’ll select the radio button next to the new email address, then scroll down and click ‘Save Changes’ to finalize the update.
Step 3: Adding a New Email Address
Upon ensuring the Contact section is current, I’m ready to add a new email. I locate the Add another email or mobile number link on the page. A click here opens a fresh dialog box – a prompt to input my additional email address. This step is critical; it’s how Facebook knows where to send notifications and how I recover my account should access issues arise.
When entering my new email, accuracy is paramount. Mistakes could send sensitive data elsewhere. After typing in the new email address correctly, I click the Add button. Facebook’s system now sends a verification email to the address I’ve just entered. I’ll need to check my inbox for a message from Facebook containing a link or a code.
Opening my email account, I look for an email from Facebook titled something like, “Confirm your new email address.” Once I find it, either I click the confirmation link or enter the provided code back on the Facebook page, depending on the instructions given. This step proves that I have control over the new email address.
After verification, Facebook updates my email settings. My new email now appears in the Contact section. But, to make it the primary email where I receive all communication, there’s still one essential action left.
Here’s a quick run-through of the actions I’ve covered:
- Click Add another email or mobile number.
- Enter the new email address.
- Click Add.
- Check the new email’s inbox for the verification message.
- Follow the instructions on the verification email.
These steps aren’t just procedural; they’re a safeguard for my account’s integrity and security. It’s vital I ensure that every action reflects my intent and secures my Facebook presence effectively. After all, an email address is more than just a contact detail; it’s a potential key to my social network.
Step 4: Verifying the New Email Address
After adding your new email, it’s crucial to wait for Facebook’s verification process. Facebook will send a verification email to the address you’ve just added; this is their way of ensuring it’s really you making the request and that the email address is active and accessible. This email contains a confirmation link or a specific code, and it’s imperative to check your inbox promptly. Spam filters can sometimes reroute these emails, so I make sure to check all my folders, including Junk and Spam, to not miss this critical step. Once I locate the email from Facebook, I’ll either click the link or enter the code provided into the appropriate field on Facebook, confirming that I control this new email. It’s important to note that if you don’t verify it, this email cannot become your primary contact in your Facebook account.
- Resend the verification email from the Contact section if the first one doesn’t come through after a few minutes.
- Check if the email address was correctly entered. Mistyped emails are a common hiccup.
- Ensure that the email provider isn’t blocking emails from Facebook. Sometimes, you may need to adjust your email settings or whitelist Facebook’s email address. Verifying the new email is a straightforward process, but patience and attention to detail are key. Once verified, you’re almost at the finish line in making it your primary email. Ensure the verification process is complete before moving on. The sequence of these steps is designed for your security, so I always follow them precisely to maintain the integrity of my Facebook account.
Step 5: Setting the New Email Address as Primary
Once the verification process is complete, I’m ready to set my new email address as the primary one on Facebook. Doing this ensures that all Facebook notifications are sent to the new email. Here’s how to do it:
- I log into my Facebook account.
- Then, I click on the down arrow in the top right corner to access the settings menu.
- From there, I select “Settings & Privacy” followed by “Settings.”
- I click “Contact” in the General Account Settings.
- Here, I see a list of all the email addresses linked to my Facebook account and next to my new email, there’s an option to “Change Contact.”
Once I click on “Change Contact,” Facebook may prompt me for my account password to confirm my identity. This extra step is crucial for my account security, and I appreciate that Facebook puts safety first.
After entering my password, I select the new email address and click “Save Changes.” Facebook updates my contact information, and from that moment on, all notifications and correspondence are routed to my newly appointed primary email.
This process doesn’t just end with updating my email preferences on Facebook though. It’s also wise to go through my other devices and applications to ensure my Facebook log-in credentials are updated there as well, especially if I’m using my Facebook account to sign in to other services.
It’s important to frequently check my new primary email for any notifications or security alerts from Facebook, as this is where I’ll also receive alerts about any unauthorized access to my account. Staying on top of these alerts helps me keep my Facebook account secure.
Remember, maintaining up-to-date contact information aids in the recovery process, should I ever forget my password or need to regain access to my account. So, it’s beneficial to take a moment to review and update my recovery options, such as my phone number or trusted contacts.
Conclusion: Keeping Your Facebook Account Linked to the Right Email Address
Changing your primary email on Facebook is a straightforward process that keeps your account secure and ensures you stay in the loop with important notifications. Remember to verify your new email promptly and update your login information across all devices and apps. Staying vigilant by regularly checking your email for any Facebook communication will help safeguard your account. By following these steps, you’ll maintain seamless access to your Facebook account and keep it linked to the right email address.
Frequently Asked Questions
How do I change my primary email on Facebook?
To change your primary email on Facebook, first go to Settings, click on the Contact section, and add a new email. Verify your new email, then return to the Contact section to set it as the primary email.
Why do I need to verify my new email on Facebook?
Verifying your new email ensures that you can reset your password and receive important notifications from Facebook. It also secures your account.
What should I do if I don’t receive the verification email from Facebook?
If you don’t receive the verification email, check your spam folder, make sure you entered the correct email, and request another verification email from the Facebook settings.
How do I make sure I can log into Facebook with the new primary email?
Update your login credentials on all devices and applications where you use Facebook. This prevents access issues with your account.
Is it important to frequently check the new primary email for Facebook notifications?
Yes, it is important to regularly check your new primary email for Facebook notifications and security alerts to stay updated and secure your account.
What should I do about my Facebook recovery options after changing my primary email?
Review and update your recovery options in your Facebook account settings to ensure you can recover your account if you lose access.